Kraft packaging is popular for its eco-friendly qualities and versatility. Creating custom Kraft boxes is a great way to enhance your brand. This article will explore how to make different types of Kraft boxes, including tea, burger, bakery, and cookie boxes.
Understanding Kraft Paper
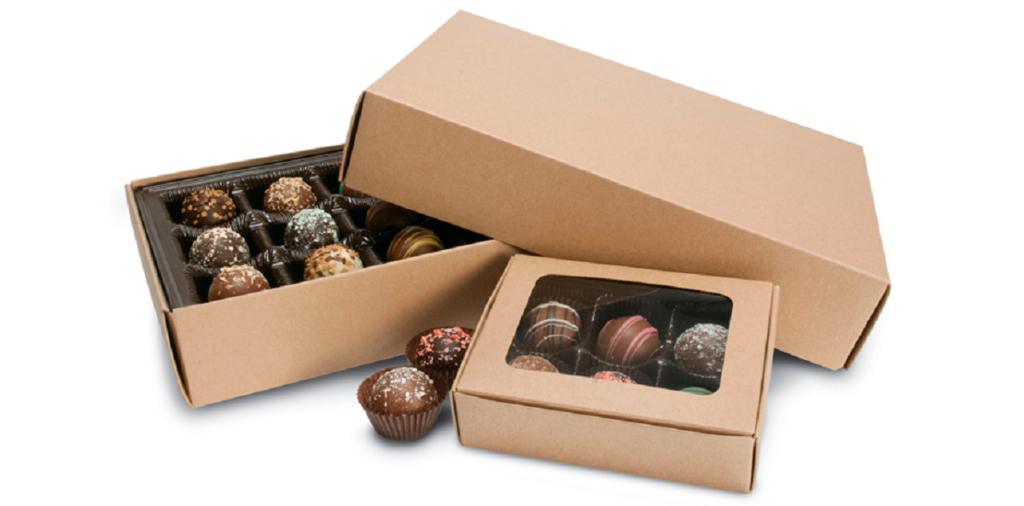
Kraft paper is made from wood pulp. It is strong and durable, making it ideal for packaging. Its natural brown color gives a rustic look that many consumers appreciate. Additionally, Kraft paper is recyclable, which aligns with eco-friendly practices. Using Kraft packaging can help your business stand out in a competitive market.
Tools and Materials Needed
Before you start, gather the necessary tools and materials. You will need:
- Kraft paper sheets
- Scissors or a cutting tool
- Ruler and measuring tape
- Pencil for marking
- Glue or tape for assembly
- Decorative elements (optional)
Having these items ready will make the process smoother and more efficient.
Making Kraft Tea Boxes
Kraft tea packaging boxes are an excellent way to package tea bags or loose leaf tea. Here’s how to make one:
Step 1: Measure and Cut
First, measure the dimensions you want for your box. A common size is 4 inches by 4 inches by 6 inches. Use a ruler to mark the measurements on the Kraft paper, then cut out the shape.
Step 2: Create the Box Shape
Next, fold the cut paper along the lines to create flaps. Make sure to create a base and sides. The flaps will hold the box together.
Step 3: Assemble the Box
Use glue or tape to secure the flaps. Ensure the structure is strong and stable.
Step 4: Add Branding
Finally, customize your box. You can print your logo or use stickers. This will enhance your brand visibility.
Making Kraft Burger Boxes
Kraft burger packaging boxes are perfect for takeout or delivery. Here’s how to create them:
Step 1: Choose Dimensions
For burger boxes, a common size is 5 inches by 5 inches by 3 inches. Measure and cut the Kraft paper accordingly.
Step 2: Create the Base and Lid
Cut two pieces: one for the base and one for the lid. The lid should be slightly larger to fit over the base comfortably.
Step 3: Fold and Secure
Fold the edges to form the shape of the box. Use glue or tape to secure the edges. Ensure it can hold the weight of the burger.
Step 4: Personalize Your Box
Add your brand elements. You can use stamps, stickers, or printed designs. This will attract customers and enhance the experience.
Making Kraft Bakery Boxes
Kraft bakery boxes are ideal for pastries and cakes. Here’s how to make them:
Step 1: Measure Your Bakery Items
Determine the size of your bakery items. A typical bakery box size is 8 inches by 8 inches by 4 inches.
Step 2: Cut the Kraft Paper
Cut a square from the Kraft paper based on your measurements. This will be the base of the box.
Step 3: Create the Sides
Cut four strips for the sides. Make sure they are tall enough to hold your baked goods.
Step 4: Assemble and Decorate
Fold the strips to form the sides. Glue them to the base. Once assembled, add decorative elements. You can use ribbon or stickers for a festive touch.
Making Kraft Cookie Boxes
Kraft cookie boxes are great for packaging cookies for gifts or sales. Here’s how to make them:
Step 1: Decide on Size
For cookie boxes, consider a size of 6 inches by 4 inches by 2 inches. Measure and cut the Kraft paper accordingly.
Step 2: Create the Box Structure
Cut the Kraft paper into a rectangular shape. Fold the sides to create a box with a lid.
Step 3: Secure the Edges
Use glue or tape to hold the box together. Ensure it is sturdy enough to protect the cookies.
Step 4: Customize Your Cookies Box
Brand your cookie box with your logo or design. This will help promote your cookies and create a lasting impression.
Final Tips for Customizing Kraft Boxes
Use High-Quality Materials
Always use high-quality Kraft paper for durability. This ensures that your boxes can hold the contents securely.
Consider Printing Options
Explore printing options to enhance the look of your boxes. Digital printing allows for vibrant designs that attract attention.
Experiment with Sizes
Don’t be afraid to experiment with different sizes. Customizing sizes allows you to cater to various products and needs.
Eco-Friendly Inks
If possible, use eco-friendly inks for printing. This complements the natural aspect of Kraft paper.
Stay Consistent with Branding
Ensure your design reflects your brand identity. Consistency helps customers recognize your products easily.
Conclusion
Customizing Kraft packaging is a simple yet effective way to enhance your brand. By following these steps, you can create attractive and functional boxes for tea, burgers, bakery items, and cookies. The ultimate goal is to provide quality packaging that resonates with customers. Happy crafting!