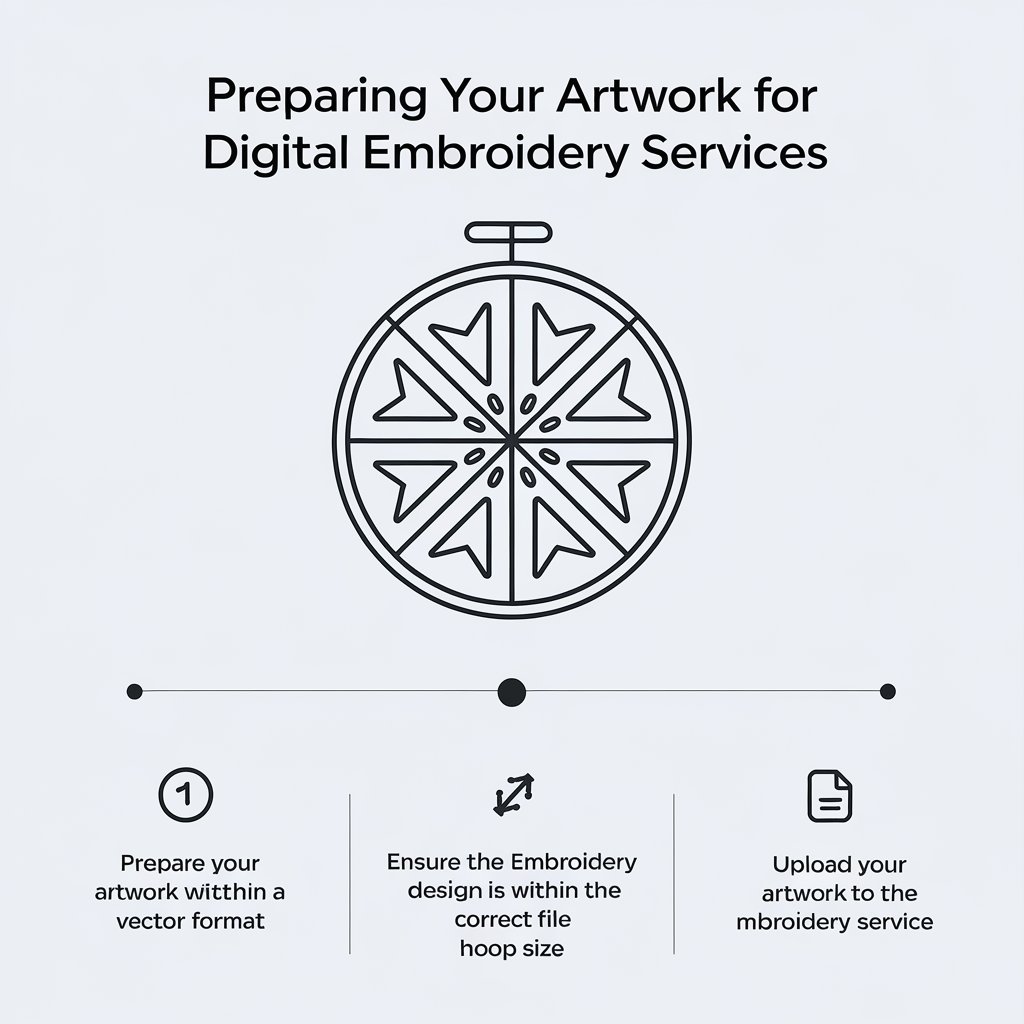
Creating custom embroidery requires careful preparation of your artwork. A well-prepared design ensures that the final product looks professional and meets your expectations. The process of getting your design ready for embroidery can make a significant difference in the quality of the finished piece. Here’s a step-by-step guide on how to prepare your artwork for digital embroidery services.
1. Understand the Required File Format
The first step in preparing your artwork is to ensure it’s in the correct file format. Most embroidery digitizing services prefer vector files such as AI (Adobe Illustrator) or EPS (Encapsulated PostScript). Vector files are ideal because they can be scaled to any size without losing quality. This is important for embroidery, as designs often need to be resized to fit various items like shirts, caps, or bags.
If you only have raster images (like JPEG or PNG), make sure they have a high resolution (at least 300 DPI) to minimize quality loss. Raster images can lose clarity when resized, which can lead to pixilation in the final product. Always check with your embroidery service to confirm the file formats they accept, as requirements may vary.
2. Simplify Your Design
Digital embroidery service machines can struggle with complex designs that include intricate details and fine lines. To make your artwork suitable for embroidery, simplify it by removing unnecessary details. Bold and clear designs translate better into stitches. When creating or editing your design, consider how each element will appear when stitched.
For instance, small text or delicate lines may not reproduce well and can become distorted during the stitching process. It’s beneficial to reduce the complexity of your design to ensure it can be accurately reproduced. Using larger, more defined shapes can help the embroidery machine work more effectively.
3. Use Solid Colors
Embroidery works best with solid colors. Avoid using gradients or shading in your design, as these can complicate the stitching process and may not appear as intended on fabric. Stick to a limited color palette with distinct and recognizable colors that will stand out against the background of the fabric.
It’s also essential to choose colors that contrast well with each other to enhance visibility. If you are unsure which colors to use, many embroidery digitizing services provide color charts that showcase available thread options. Familiarize yourself with these charts to select colors that will complement each other and achieve the desired look for your design.
4. Determine the Size of the Design
Deciding how large you want your design to be when embroidered is crucial. The size affects how details will be rendered. For instance, a very intricate design may lose its details if it’s resized too small. Check the dimensions of your artwork and make sure they match the size specifications you have in mind for the fabric item.
If you’re unsure about sizing, consult with your embroidery digitizing service for guidance. They can provide recommendations based on the fabric type and the intended use of the embroidered item. This collaborative approach ensures that your artwork is not only visually appealing but also practical for the embroidery process.
5. Choose Thread Colors
If you have specific thread colors in mind, include this information with your artwork. The right thread colors can significantly impact the final appearance of your embroidered design. Use the color charts provided by your embroidery service to choose shades that complement your design and the fabric color.
It’s advisable to keep the number of thread colors limited for a cleaner look. Too many colors can make the design look cluttered and may also increase the complexity of the embroidery process. Aim for a balanced color palette that enhances your design without overwhelming it.
6. Provide Detailed Instructions
When you submit your artwork, include any additional instructions or preferences you may have. This could include information about fabric type, desired placement of the design on the item, and any other details that will help the digitizing service create a design that meets your expectations. Clear communication is key to ensuring the best results.
For example, if you have a specific fabric that you want to use, mention that in your instructions. Different fabrics have different stitching needs, and this information will help the digitizing service adjust the design accordingly. Also, specify whether you prefer a particular stitch type, like satin or fill stitches, to achieve the desired texture and look.
7. Review the Digital Proof
After submitting your artwork, the digitizing service will usually create a digital proof or mock-up of your design using digital technology. Take the time to review this proof carefully. Check for any mistakes, and make sure the design aligns with your vision. This is the perfect opportunity to request changes before the final embroidery begins.
Pay attention to details like color accuracy, design placement, and overall appearance. If any adjustments are needed, communicate those changes to the digitizing service as soon as possible. The more feedback you provide, the closer the final product will be to your expectations
Conclusion
Preparing your artwork for embroidery service London is an essential step in achieving high-quality results. By understanding the required file formats, simplifying your design, using solid colors, determining size, and providing clear instructions for your custom design, you can set the stage for a successful embroidery project. Don’t hesitate to reach out to your digitizing service for assistance if you have questions or need help during the preparation process.
With careful preparation and attention to detail, your custom embroidery can truly shine! Whether for branding, gifts, or personal use, the right approach to preparing your custom design will ensure that your vision becomes a reality


