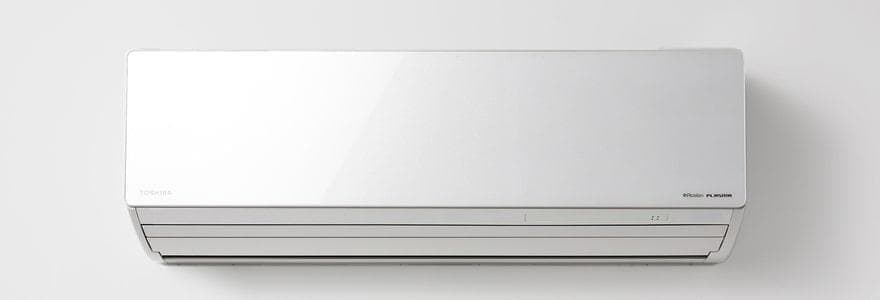
How to install an air conditioner correctly and what to pay attention to when installing it – all about this and more in this article.
When choosing the location of the air conditioner in the room
it is necessary to consider the direction of airflow. It is not recommended to install opposite or under the place where people stay.
The mounting plate is fastened with hardware
If the wall is concrete (brick or gas block), then it is correct to use “quick installation”, if it is a frame or wooden – a wood screw. Be sure to install it according to the level. Make sure that the plate is located evenly and does not bend, this occurs in apartments with uneven walls. For proper air circulation, the distance from the block to the ceiling should be at least 300 mm, and to the wall 125 mm or more.
Pro Tip: Looking for reliable AC replacement services in Burbank, CA? Our expert team provides fast and affordable AC replacement solutions to keep your home cool and comfortable. Contact us today!
Drilling a hole is one of the most important stages of installation
The hole should be made correctly from the room to the street. It is necessary to take into account a slope of at least 3-5 degrees for future condensate drainage. The diameter of the hole for household air conditioners is 40-60 mm.
The next stage of installation will be the assembly and connection of the main line to the indoor unit of the air conditioner
Tubes of the appropriate diameter are rolled and screwed to the unit. The drainage tube is also connected. Next, the main line insulation is put on. The conclusion will be wrapping the main line with a special tape. Then the main line is pushed through the prepared hole and the unit is fixed to the plate.
Installation of the outdoor unit begins with mounting the brackets
Keep in mind that the correct distance from the edge of the air conditioner to the wall should be at least 10 cm or as specified in the technical installation documentation. Check the reliability of the brackets and you can install the outdoor unit. Fix and screw the base of the unit with nuts and a bolt, using a washer.
Read Other: How to Choose the Right Kitchen Plumber for Your Home
Connecting the main line to the outdoor unit
First, you need to bend the main line to the taps correctly so that there is no tension. Then the pipes are flared and connected.
Vacuuming is a mandatory condition when installing modern air conditioners
Devices on R22 freon were banned due to the ozone-depleting substances they contained. Air conditioners on 410 freon are already completely environmentally friendly. In parallel with environmental protection, complete air removal is required, since it is a very strong oxidizer. And without vacuuming, the system will corrode from the inside due to increased acidity and will not work properly. Therefore, vacuuming when installing an air conditioner is a mandatory condition for maintaining the warranty.
After checking the tightness of the system
the valves are opened in the following sequence: first the high-pressure valve (it is larger), and then the low-pressure valve (it is smaller). This is the correct sequence.
power supply connected
The power supply is connected with a wire of the appropriate cross-section. For additional protection, we recommend installing a voltage relay with the fastest response speed.
Make sure that all installation steps have been completed correctly and start the air conditioner. Depending on the model, it may take up to 2 minutes to reach operating mode.
Read Other: Basement Renovation Design: Transforming Your Underutilized Space


